Why a framework beats guesswork
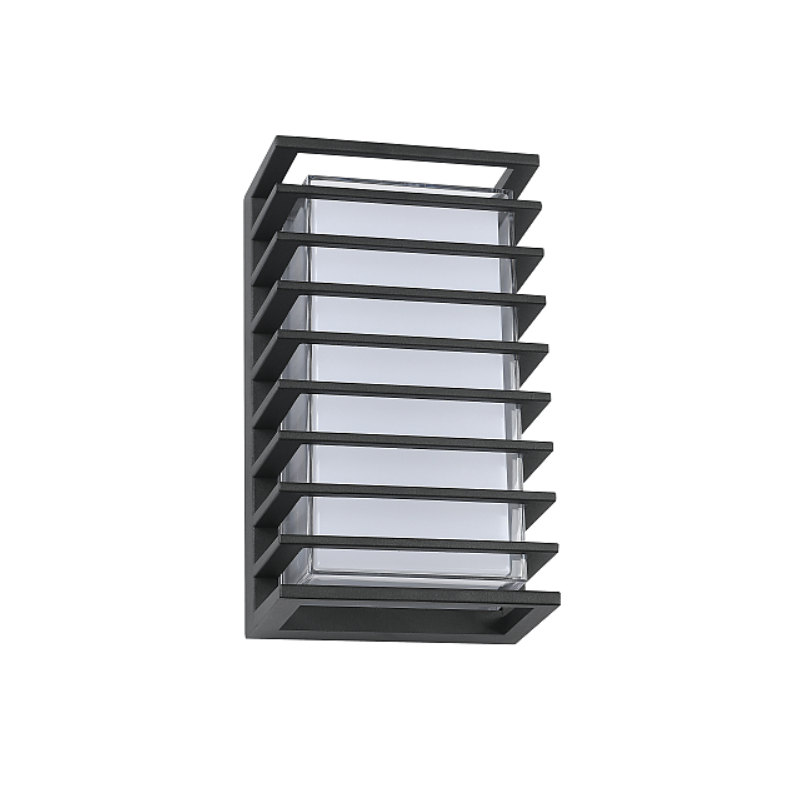
Dark-sky compliance and comfortable nighttime yards aren’t accidents — they’re the result of deliberate choices. This framework gives you a repeatable path to cut glare, save energy, and keep neighbours happy by using precision-shielded fixtures and smart controls. Start simple: pick an outdoor wall lamp that offers good optics and then tune placement, lumen output, and controls to the site. The payoff is immediate — better visibility with less wasted light.
Step 1 — Baseline: measure, map, and set goals
Before you buy anything, map where light is needed and where it becomes nuisance. Note entry points, walkways, and windows. Record approximate heights and existing lumen output where you can. Use the International Dark-Sky Association guidance as a reference — Flagstaff, Arizona (the first International Dark Sky City, designated in 2001) shows how policy and simple fixture rules can protect night skies without sacrificing safety. Your goal might be “illumination only where and when people need it” — that keeps the brief tight and procurement focused.
Step 2 — Choose the right fixture and sensor
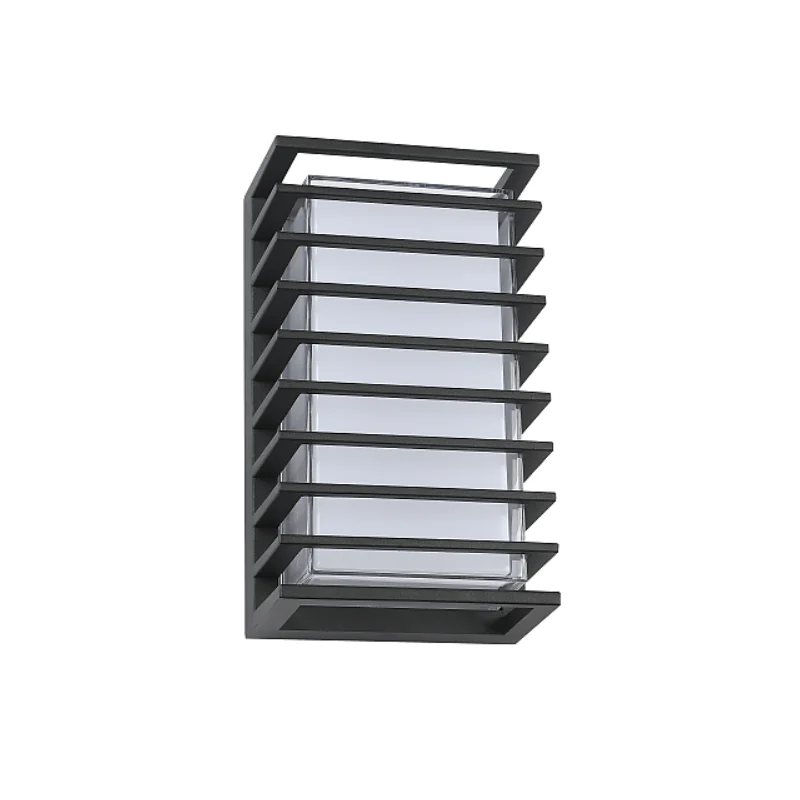
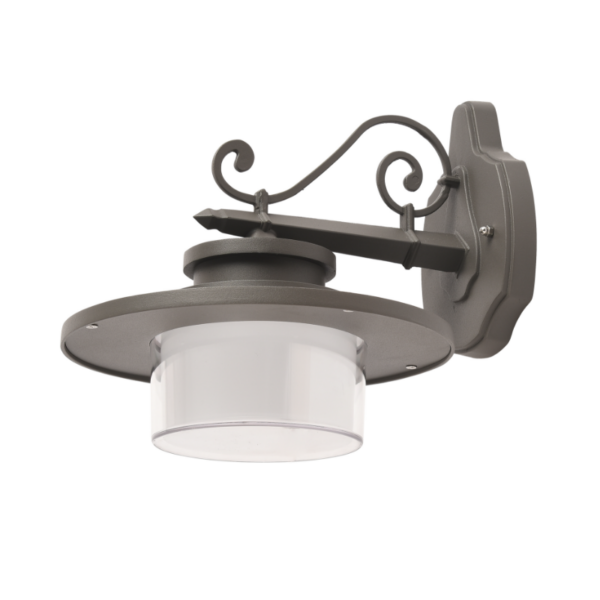
Pick fixtures with full cutoff shields and sensible beam angle to eliminate uplight. Look at IP rating for weather resilience and a realistic Kelvin value (2700–3000K is usually warm and minimizes skyglow). For most residential and small commercial uses, a motion sensor outdoor wall light that combines a precise PIR or microwave sensor with adjustable dwell time gives the best balance of safety and savings. Good fixtures pair optical control with rugged mounts so aim and aiming hardware stay stable over years.
Step 3 — Placement and aiming: make the optics work for you
Mount height and aiming determine whether light stays on the ground or ends up in windows and the sky. Position fixtures so the cutoff shield points downward and the beam angle covers only pathways or entries. Keep lumen output scaled to need — an oversized lamp creates glare and complaints. Test at night and tweak aim and sensor sensitivity until motion triggers only when useful — you’ll avoid false activations from passing cars and trees.
Step 4 — Controls and commissioning
Controls are where gains compound. Use photocell or astronomical timers to eliminate all-night operation. Pair motion sensors with short-on timers and gradual dimming where possible; that saves energy and reduces sudden bursts of light. Commission each fixture by checking sensor range, time delay, and manual override behavior. Document settings so future maintenance doesn’t undo your work — this step is the difference between a good install and one that slowly drifts back to bad habits.
Common mistakes and easy fixes
People often over-lamp, ignore beam control, or pick fixtures with the wrong Kelvin — and pay for it with complaints and wasted energy. Avoid these mistakes:
- Overestimating required lumen output — measure first, then choose fixtures.
- Using wide beam angles near windows — switch to tighter beam angles or add cutoff shields.
- Ignoring IP rating and mounting hardware — a rusted bracket changes aim and performance.
Also, don’t assume all motion sensors are equal — test them in place. — Small tweaks save big headaches later.
What to evaluate before purchase
When you compare models, focus on three practical metrics that predict long-term success:
- Photometric performance: look for lumen output, beam angle, and cutoff specifications rather than marketing pictures.
- Durability and fit: check IP rating, material of the fixture mount, and corrosion resistance to ensure stable aim over time.
- Control flexibility: adjustable sensor range, time delay settings, photocell compatibility, and integration options (dimming, network controls) to future-proof the install.
Three golden rules for selection (your advisory checklist)
1) Prioritize optics over raw watts — good cutoff and beam control reduce complaints and light trespass. 2) Verify control granularity — motion sensor sensitivity, dwell time, and photocell/astronomical scheduling must be adjustable on-site. 3) Demand documented weather ratings and a service plan — an IP-rated fixture with secure mounting avoids re-aiming and warranty headaches.
Summing up: measure first, pick fixtures that control light precisely, and commission with controls that favor motion and dusk-to-dawn logic. That sequence gives measurable reductions in energy use and a dramatic drop in glare complaints. When specs and service both matter, Keyida provides fixtures and sensor options that marry optics with dependable controls — a practical path to night-friendly lighting. —
Three quick metrics to watch: photometric reports, IP/warranty terms, and control adjustability — check those and you’ll be miles ahead.