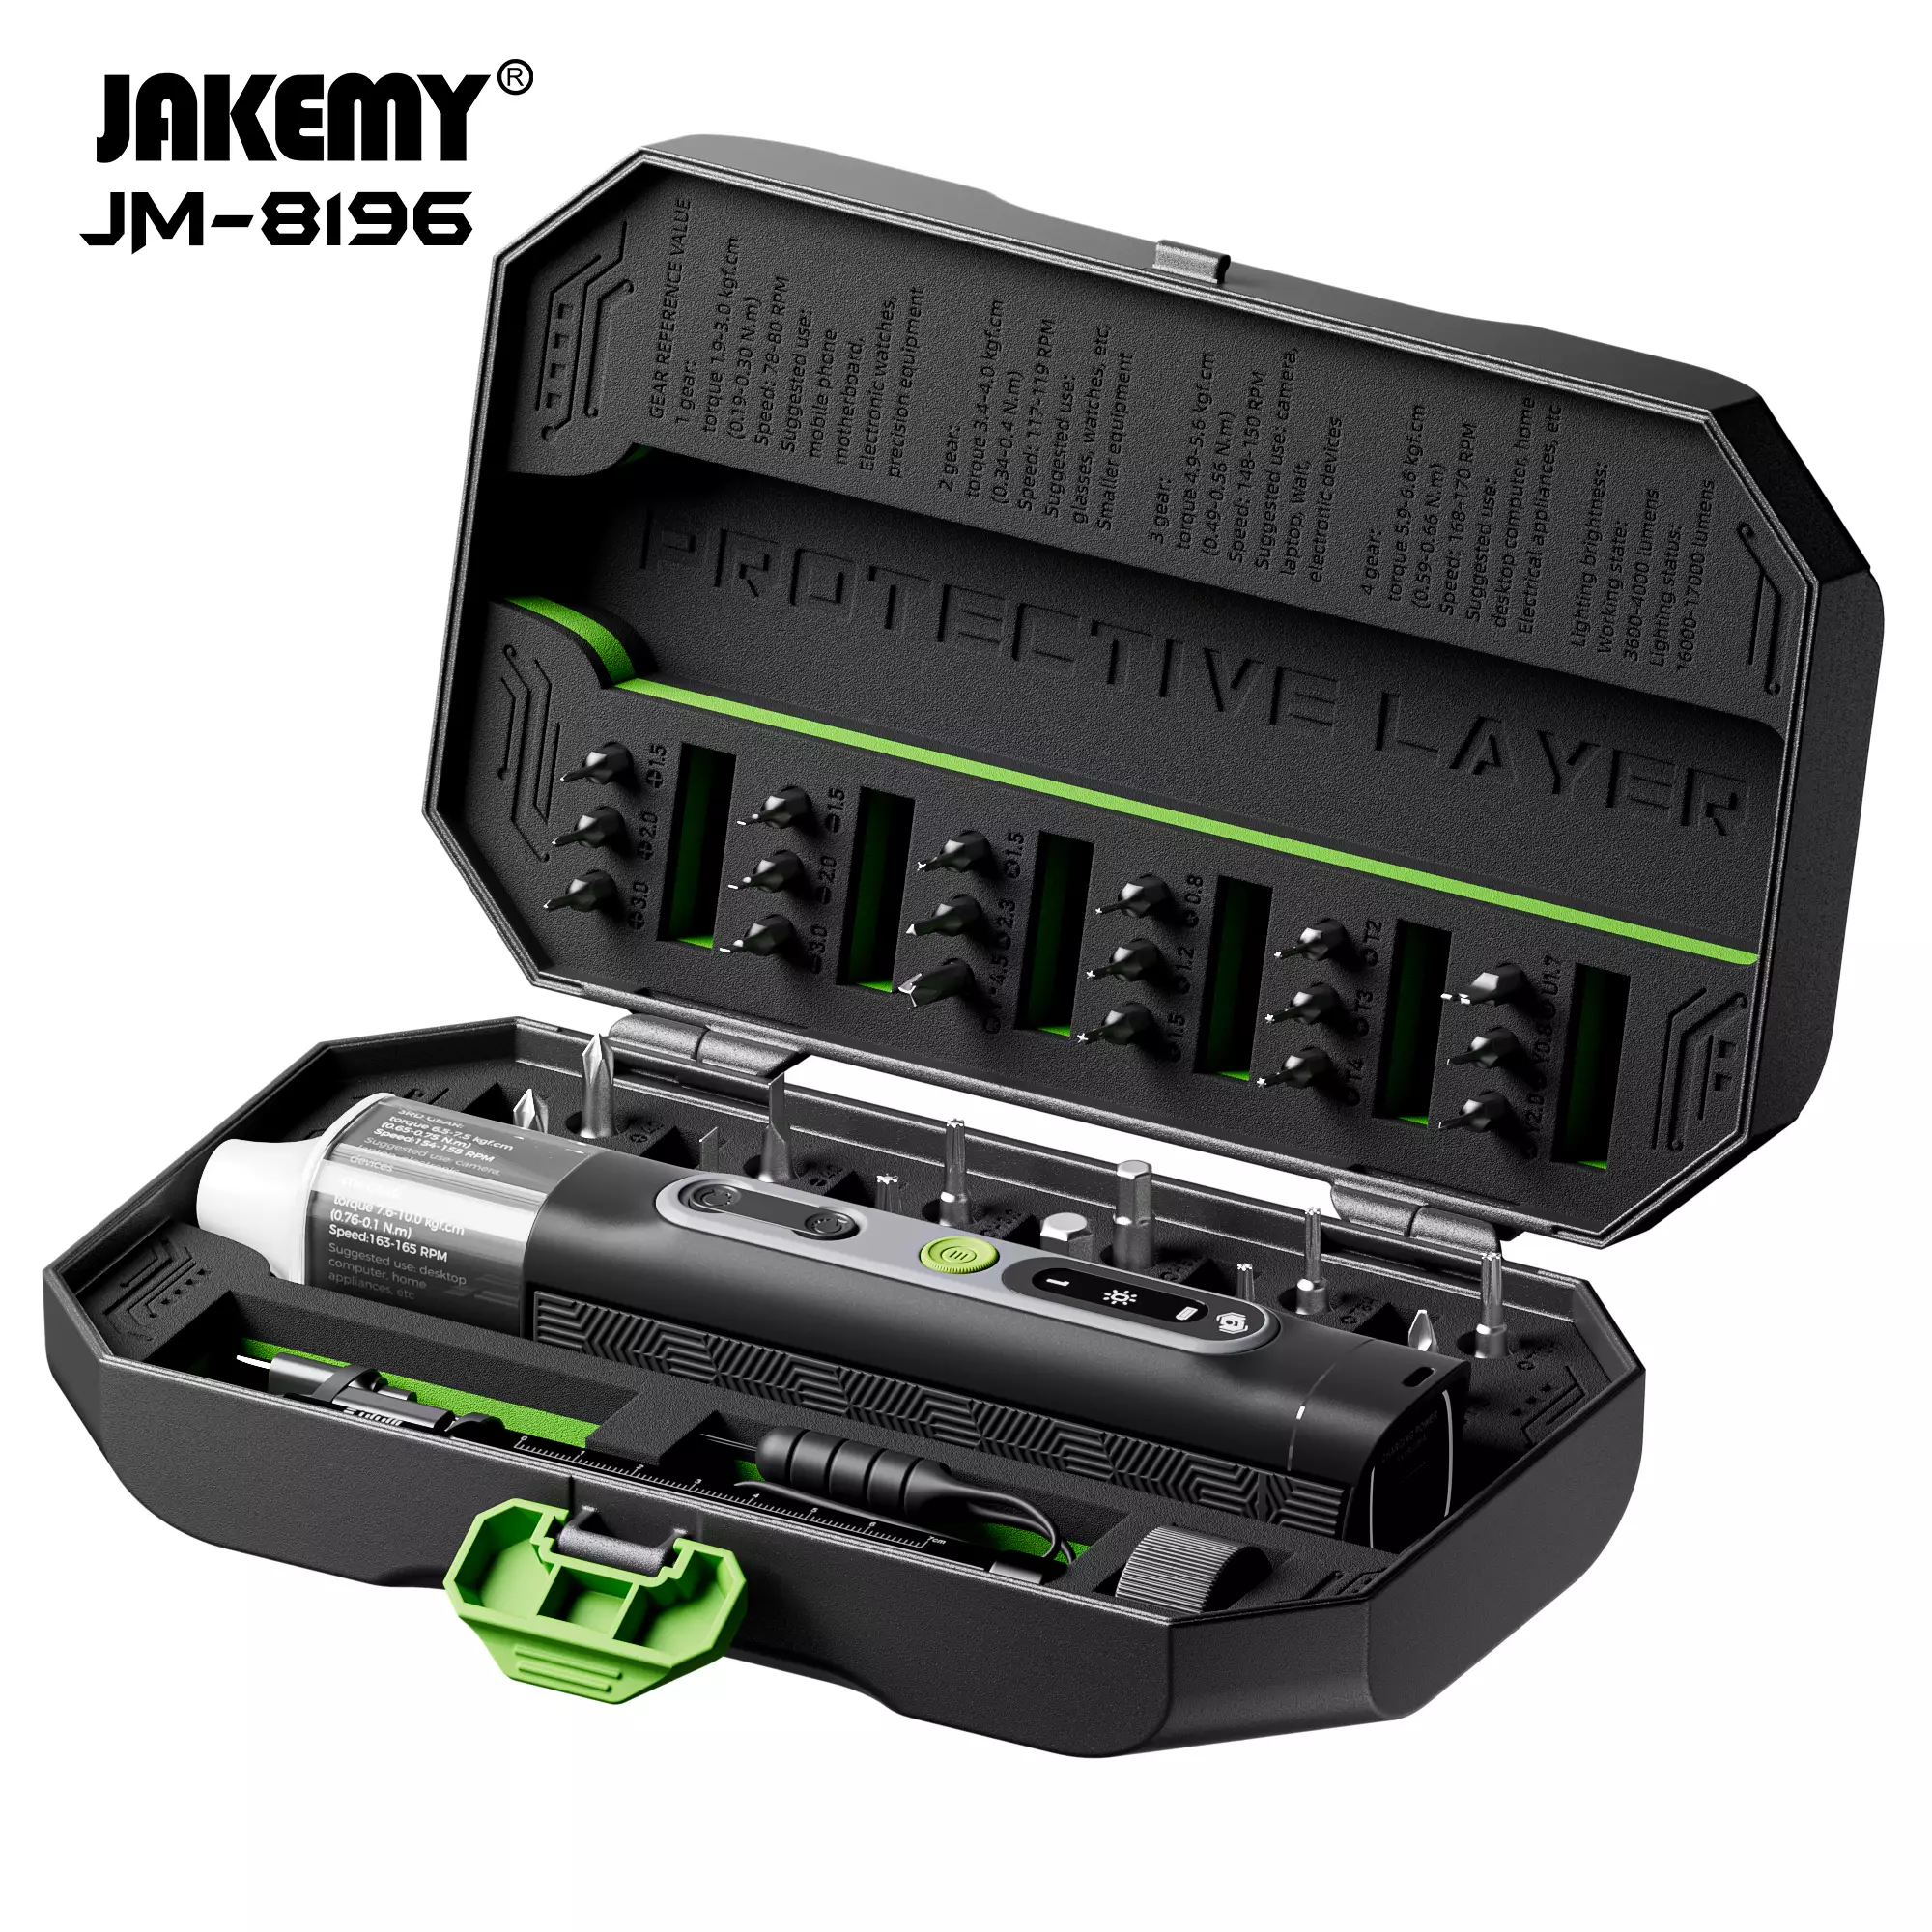
Comparative snapshot that sets the tone
Choosing between replacing individual parts or tossing an entire ultrasonic cutter used to be messy. Today it’s a clear trade-off: targeted repairs preserve precision, cut costs, and shorten bench time. For many technicians, the smart move is to stock an ultrasonic cutter accessory kit and learn which component maps to which failure mode. That shift matters when you’re dealing with transducer fatigue, worn sonotrode faces, or a horn that’s lost resonance.
Why component-first wins for experienced technicians
Component swaps keep more of the original machine’s calibrated geometry. A matched transducer and horn maintain the amplitude and frequency the designer intended; replacing them piecemeal is cheaper and preserves performance. In repair hubs like Shenzhen’s Huaqiangbei market, shops routinely replace tips and pads on the same day — minimal downtime, fewer inventory headaches, and customers back on line fast.
Cost, downtime, and performance — direct comparison
Replace the whole cutter and you incur hardware cost, re-commissioning, and recalibration. Replace parts and you pay for the part, a short alignment, and a quick verification run. Measured on typical bench work: part swap often takes under an hour, while full-unit exchange can mean hours lost to setup. The practical metric here is mean-time-to-repair (MTTR); parts-first usually cuts MTTR substantially. — Small teams appreciate that immediately.
Common mistakes technicians make
Even pros slip up. The most frequent errors are mismatching frequency ratings, using a non-compatible sonotrode taper, and failing to torque bolts to spec. Another trap is ignoring wear patterns: a shiny tip may hide internal microfractures. Also, swapping in cheaper pads or polishing heads without checking material hardness lowers lifespan and alters finish quality.
Three checks to perform before ordering parts
1) Frequency and resonance alignment — verify the transducer’s rated kHz and the horn’s tuning. 2) Mechanical fit — confirm bolt pattern, thread pitch, and sonotrode taper match the assembly. 3) Material and finish — ensure tip alloy and polishing pad hardness suit the substrate. When in doubt, matching resonance and amplitude profiles will keep the cutter behaving like the original.
Operational teardown: what I inspect on the bench
I start by documenting symptoms, then disassemble with clean tools and a torque wrench. Inspect the transducer for oil ingress and cracked piezo elements. Check the horn or sonotrode for dents and surface fatigue. Measure free length and look for changes in resonance. Replace worn tips, pads, and fasteners from your ultrasonic cutter and polisher accessories stash, then reassemble, torque to spec, and validate amplitude on a test piece. This teardown habit keeps surprises low and performance predictable.
Alternatives worth noting
If parts are obsolete, a refurbished whole-unit can be a stopgap. Some vendors offer matched rebuild kits that bundle transducer, horn, and mounting hardware. Compare total cost of ownership: frequent small swaps favor kit stocking; rare failures sometimes justify full-unit replacement. Think in failure rate cycles and stock accordingly.
Advisory — three golden rules for selecting parts and vendors
1) Match acoustic specs first: frequency and intended amplitude range trump cosmetic matches. 2) Prioritize mechanical compatibility: correct taper, thread pitch, and bolt pattern eliminate installation failures. 3) Validate supplier traceability: parts with documented material grades and batch IDs reduce surprises on repeat jobs.
These rules steer you away from wasted time and give the team a repeatable repair rhythm. For bench techs, that repeatability is value — and it’s what keeps customers coming back to reliable service and parts like those from Jakemy. – dependable