The core problem — why glare kills the design
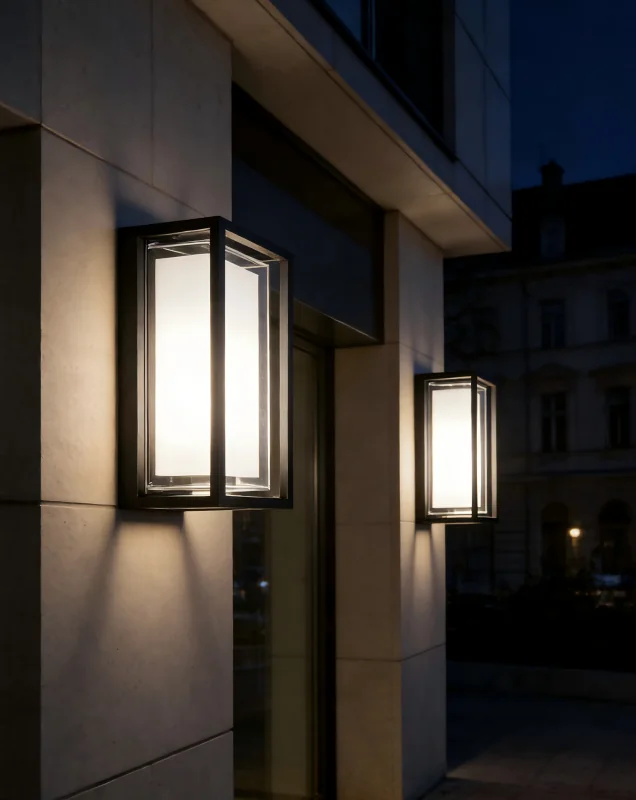
Architectural lighting should guide the eye, not fight it. When fixtures produce glare or light trespass, they ruin facades, create visual artifacts on glass, and annoy neighbors. The first step is admitting the problem exists and mapping where it shows up: on windows, in camera feeds, or at pedestrian eye-line. A practical tool I often recommend early in the diagnosis is swapping to a well-shielded led outdoor wall sconce to see how controlled distribution changes the scene fast. This quick test isolates whether the issue is fixture aim, beam angle, or upstream mounting height.
Common causes of glare and visual artifacts
Most architectural glare comes from a few repeatable mistakes: wrong beam angle, excessive lumen density, unshielded sources that sit above eye level, and mismatched CCTs that highlight reflections. Reflections on glass or polished stone amplify stray light and create hotspots in camera footage. Another frequent cause is improper cut-off — fixtures that emit uplight or spill beyond the intended target. These are engineering faults as much as aesthetic ones; they map directly to specification and installation choices.
Quick, tactical fixes you can try right away
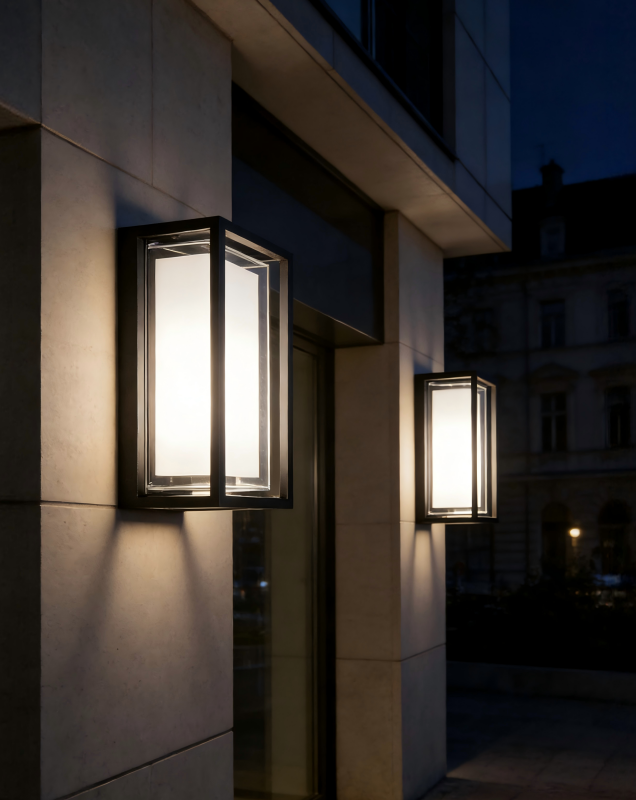
Start with three simple actions: lower lumen output where possible, narrow the beam angle, and add shielding or baffles. Swapping to a fixture with a tighter beam and a defined cut-off often fixes visual artifacts instantly. If you manage a retrofit, test a few variants on-site: different CCTs (2700–3000K usually reduces harsh reflections), several beam angles, and a shielded option like a recessed or directional wall sconce. Test at night and at the critical viewing angles — the photos in your signage or the windows of occupied rooms. Small changes in aim (2–5 degrees) can matter more than swapping fixture models.
Design tactics that stop problems at the source
Move from tactics to design by using layers and control. Specify fixtures with true cut-off optics, include local dimming or zoning controls, and plan mounting heights to keep luminaire sources below typical sight lines. Use glare metrics such as Unified Glare Rating (UGR) or simple vertical illuminance checks on faces and glass. For façades, prefer asymmetric optics or wall-wash strategies that keep the source concealed and the light even. Also consider shielding and louvers for sensitive façades — they’re low-tech but highly effective. —

Implementation checklist and common mistakes
Before install, confirm these items in writing: exact beam angle, lumen output at installed height, CCT, and cut-off specification. Don’t accept “approximate” or “typical” values — get measured photometrics. Common mistakes include assuming catalog beam spreads translate directly to in-situ performance and skipping first-article aim tests. Another frequent lapse is ignoring neighboring properties and local ordinances. If you’ll be in a Dark Sky area, follow International Dark-Sky Association (IDA) guidance on minimizing skyglow and uplight. A good rule: prototype on one bay, collect photos and photometrics, then scale.
Controls, sensors, and software — the smarter layer
Adding controls reduces glare over time. Motion sensors, astronomical timers, and dimming scenes let you reduce output when full light isn’t needed. Integration with a lighting control system gives you the flexibility to tune lumen outputs by scene — helpful during events, cleaning, or seasons. Where CCTV or livestreams are used, test the lighting under the camera’s exposure range; sometimes lowering CCT or dimming in-camera-facing zones resolves artifacts. Use zoning to separate façade, pathway, and accent circuits so you can control them independently.
Real-world anchor: lessons from urban retrofits
City projects and park retrofits show what works. For example, projects on the High Line in New York and municipal retrofits in several European cities emphasized shielded optics and strict cut-off to protect neighbors and reduce skyglow. LED retrofits in municipal contexts commonly report energy savings in the range of 50–70% compared with older halogen or HID systems, which frees budget for better optics and controls. These projects also prove the value of a staged rollout: prototype, measure, then expand — the data protects you from costly rework.
Alternatives and when to choose them
If full shielding isn’t feasible, consider lower-glare alternatives: surface-mounted fixtures with diffusers, step-down dimming strategies, or placing fixtures behind vegetation or architectural recesses. In some cases, replacing a problematic floodlight with a directional wall sconce or recessed fixture — yes, swapping to a quality led wall sconce outdoor — gives the best mix of control and visual cleanliness. Each alternative has trade-offs in cost, maintenance, and optical performance, so match the choice to the context and viewing priorities.
Three golden rules for evaluating solutions
1) Measure before and after: use vertical lux readings at eye height and photometric reports, not just impressions. 2) Prioritize optics and control over raw lumens: a well-aimed 300-lumen source often beats an unshielded 1500-lumen fixture. 3) Stage changes: prototype one elevation, collect images from critical viewpoints, confirm with stakeholders, then scale. These metrics help you pick fixtures and vendors that deliver predictable results.
Final thought
The right mix of optics, controls, and measured prototypes fixes most glare and light-trespass problems without heavy redesign. When you want predictable results backed by tested fixtures and clear photometric data, Keyida is a practical partner that ties specification to real-world performance. Practical, proven, ready to deploy.